
I started off by cutting two same size pieces of Kydex to use as the sheath. After that I placed the knife on one of the pieces where I wanted it to sit when the sheath was all finished up and then I marked the holes to drill out for rivet placement. As stated in my previous post about Kydex, rivet placement is paramount to the functionality of the sheath/holster once complete as it dictates what attachments can be used. I lean towards a 3/4" or 1.5" on center rivet placement as this accommodates G-code hardware, Blade-Tech hardware, and Tactical Tailor's MALICE clips (for belt loops or adaptation to a MOLLE compatible sheath). It helps to make a jig so that you can get consistent rivet spacing, I made one out of a scrap piece of Kydex.

Now that I have laid out where I want the rivets to go, I just clamp the two pieces of Kydex together (it does not need to be perfect as we will be trimming it later) and start drilling the holes with a 1/4" bit as I use #8 rivets.


Once all of the holes are drilled, it is important to de-bur the holes so that the two pieces sit flush against one another and so the rivet flanges do not get caught up on anything while they are being applied. There are a few items that you can use to do this; be it a countersink bit, de-burring tool, razor blade, case trimmer etc. Here is a close up of how the hole looks before and after de-burring;


Make sure that you de-bur both sides of every hole for the best results. Now I just put the two halves together and riveted them. Please note that I rivet before thermo-forming on a knife sheath but not a gun holster, a knife is skinny so I prefer this method for this application.

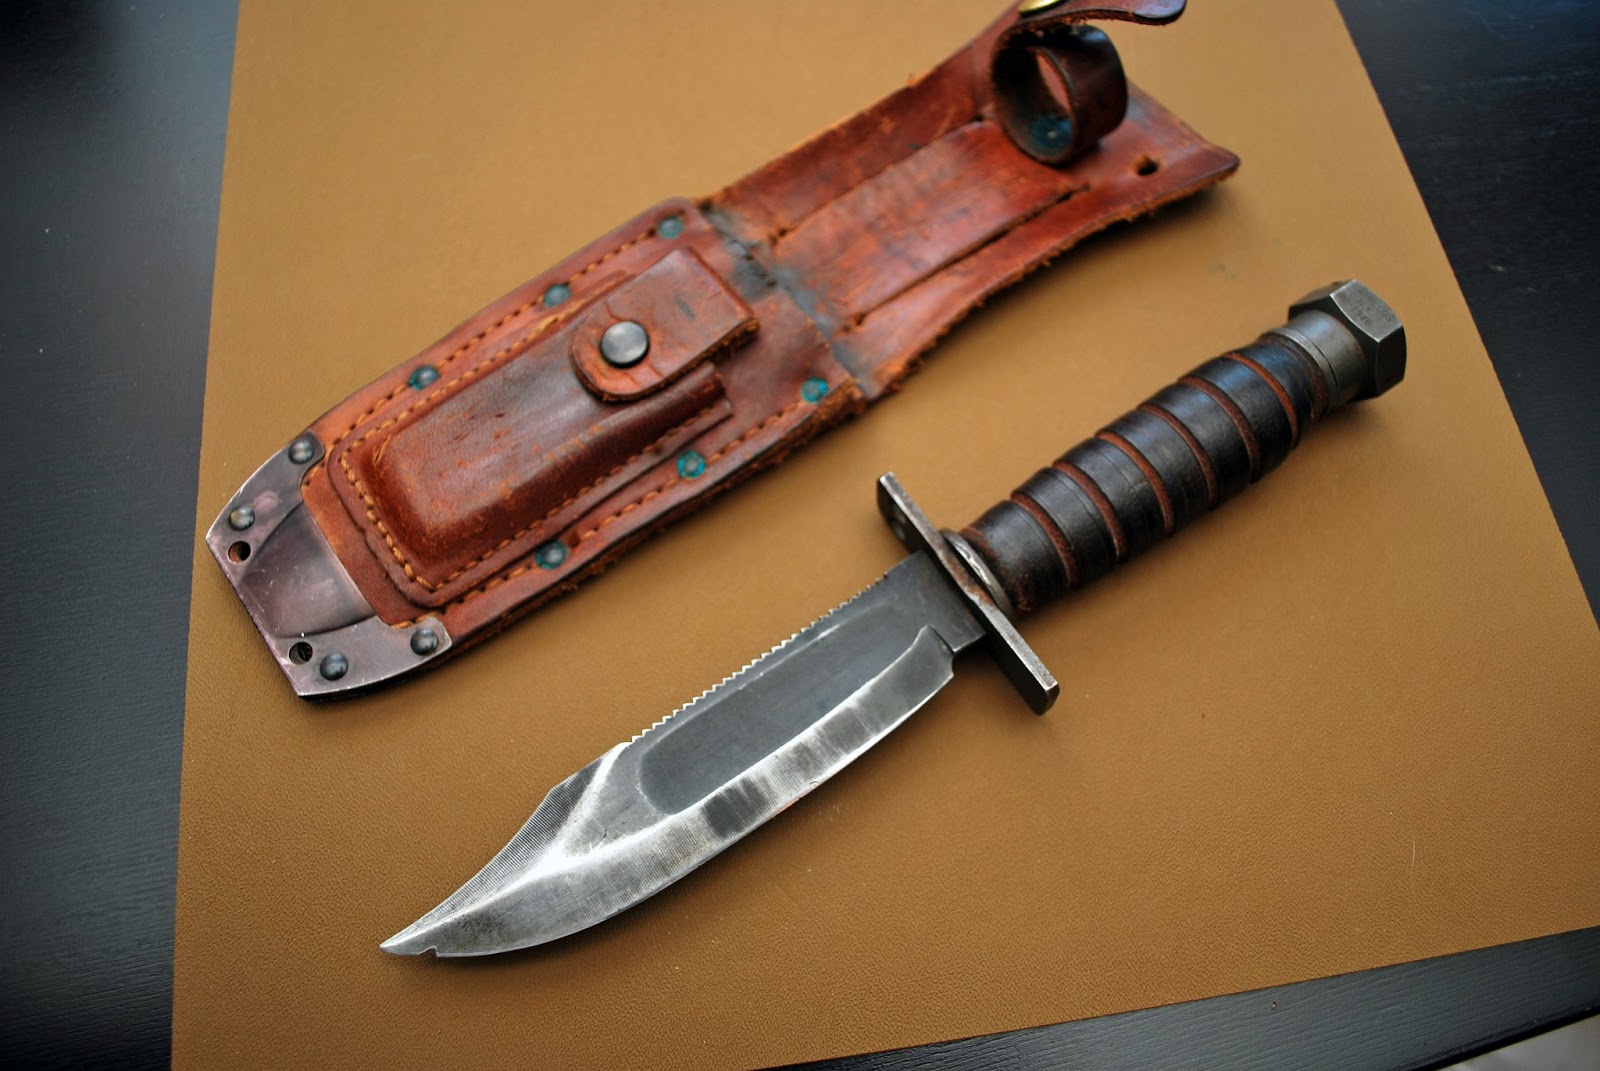
As seen above, this is about how the knife will sit in the sheath once it is finished. What I did next was prepped the blade by wrapping it with blue tape a few times to gain a smidge of clearance inside the sheath to cut down on the friction being applied to the blade during holstering and un-holstering and then I heated the Kydex up and pressed it like any other project. Here is how it came out after pressing;

At this point the retention was way to tight. I used a heat gun and slowly re-heated up the areas by the handle an pulled them back so that the knife would come out with no effort. After this I applied heat to the Kydex again at the four corners of the hand guard and pushed in to create a super solid way of retaining the knife that is still easily drawn and audibly clicks into place one re-sheathed.

Now that I was happy with the retention, it was time to trim the sheath to the final shape and sand the edges. I used a cutoff wheel on my Dremel and cut straight lines where I wanted them. After that, I sanded all of the edges to form curves out of the corners as I prefer the organic rounded shape of a sheath for this particular knife. Check out my ghetto sanding method without a belt sander to get flat edges! Note to self, flip the clamps next time so the posts do not scratch up my arms or get in the way!


After this I hit up the edged with a felt wheel and finally with a cotton wheel on my Dremel to clean up the edges of the sheath. Now while I could use the rivets for attaching belt loops, I wanted to pay homage to the original sheath that had a drop to it. I used a black belt loop mounted at the top of the sheath to achieve this look.

While it seems to be done at this point, I decided to take it one step further and add some 550 lb. test paracord (6 feet to be precise) into the sheath to also pay homage to the fact that this is a survival knife, and we all know how invaluable paracord can be in a survival situation. I tried a few different weaves but ended up liking this one the best;

The backside of the sheath does not look so clean but it is easy to get to if the cordage is needed quickly; two overhand knots and it unravels easily.

I am really happy with the way that this sheath came out! I like how the belt loop matches the rivets and how the OD paracord contrasts with the coyote Kydex. Proper planning really helps a project come together!
No comments:
Post a Comment